For this, we'll use the Free Email Signature Generator Tool by HubSpot.
Step 1: Details - Fill the "Details" tab with all your personal information, such as name, job title, phone number and links to your social profiles.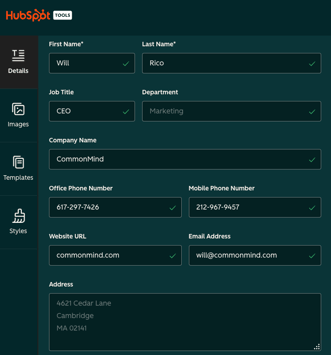
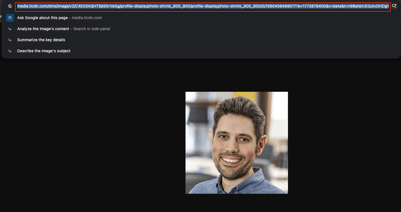
Step 2: Images - On the "Images" tab, you'll need a URL of your picture, the easiest way to get one is through your LinkedIn profile, go to your profile and click on your photo, then right click on it and go to "Open image in a new tab", copy the URL and paste it on the "Profile Picture" field.
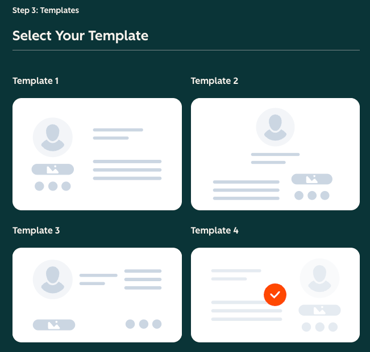
Step 3: Templates - On "Templates" tab, select the "Template 4" option.
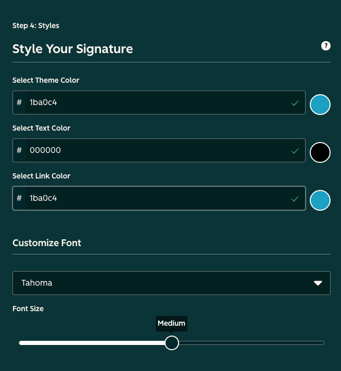
Step 4: Styles - For the first fold of the "Styles", we'll replace the first and third colors to this hex code: #1ba0c4, and change the font to Tahoma.
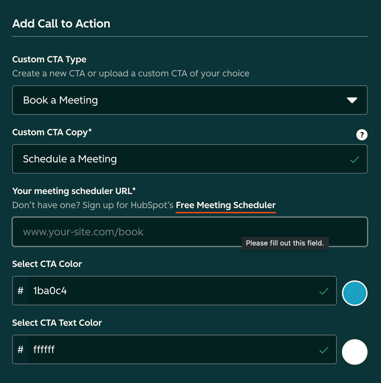
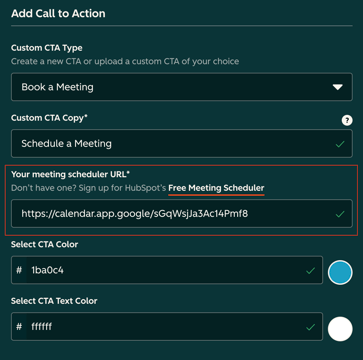
For the second fold of "Styles" tab, we'll add a CTA to Booking a meeting with you, and to create this link we'll use Google Calendar, but first, let's set the CTA correctly.
For this we'll start selecting the type of CTA as "Book a Meeting", the Custom CTA copy should be: "Schedule a Meeting", the CTA color should be #1ba0c4 and text color default #ffffff.
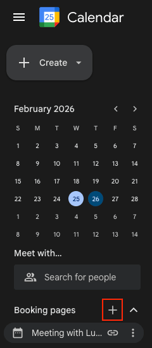
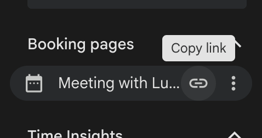
To create a link for booking a meeting with you, go to your Google Calendar, on the left column you'll see Booking pages and a plus icon, click on the icon, a new tab will open up
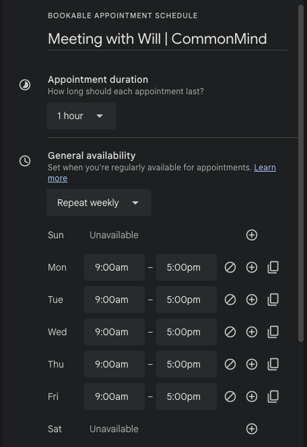
On this new tab, make your title "Meeting with {Your Name} | CommonMind", set the General Availability to start after the Daily Standup time, and to finish 1 hour before your leaving time.
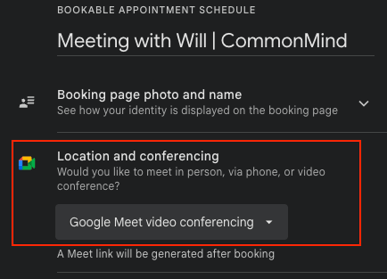
Click Next, a second tab will open up, here you just need to set the Location and Conferencing option to "Google meet conferencing"
Click Save, and back to the first column, you'll see a new item created below "Booking Pages" with the title you set, hovering your cursor over it will show an option to copy the link, now you just need to paste that link on HubSpot field
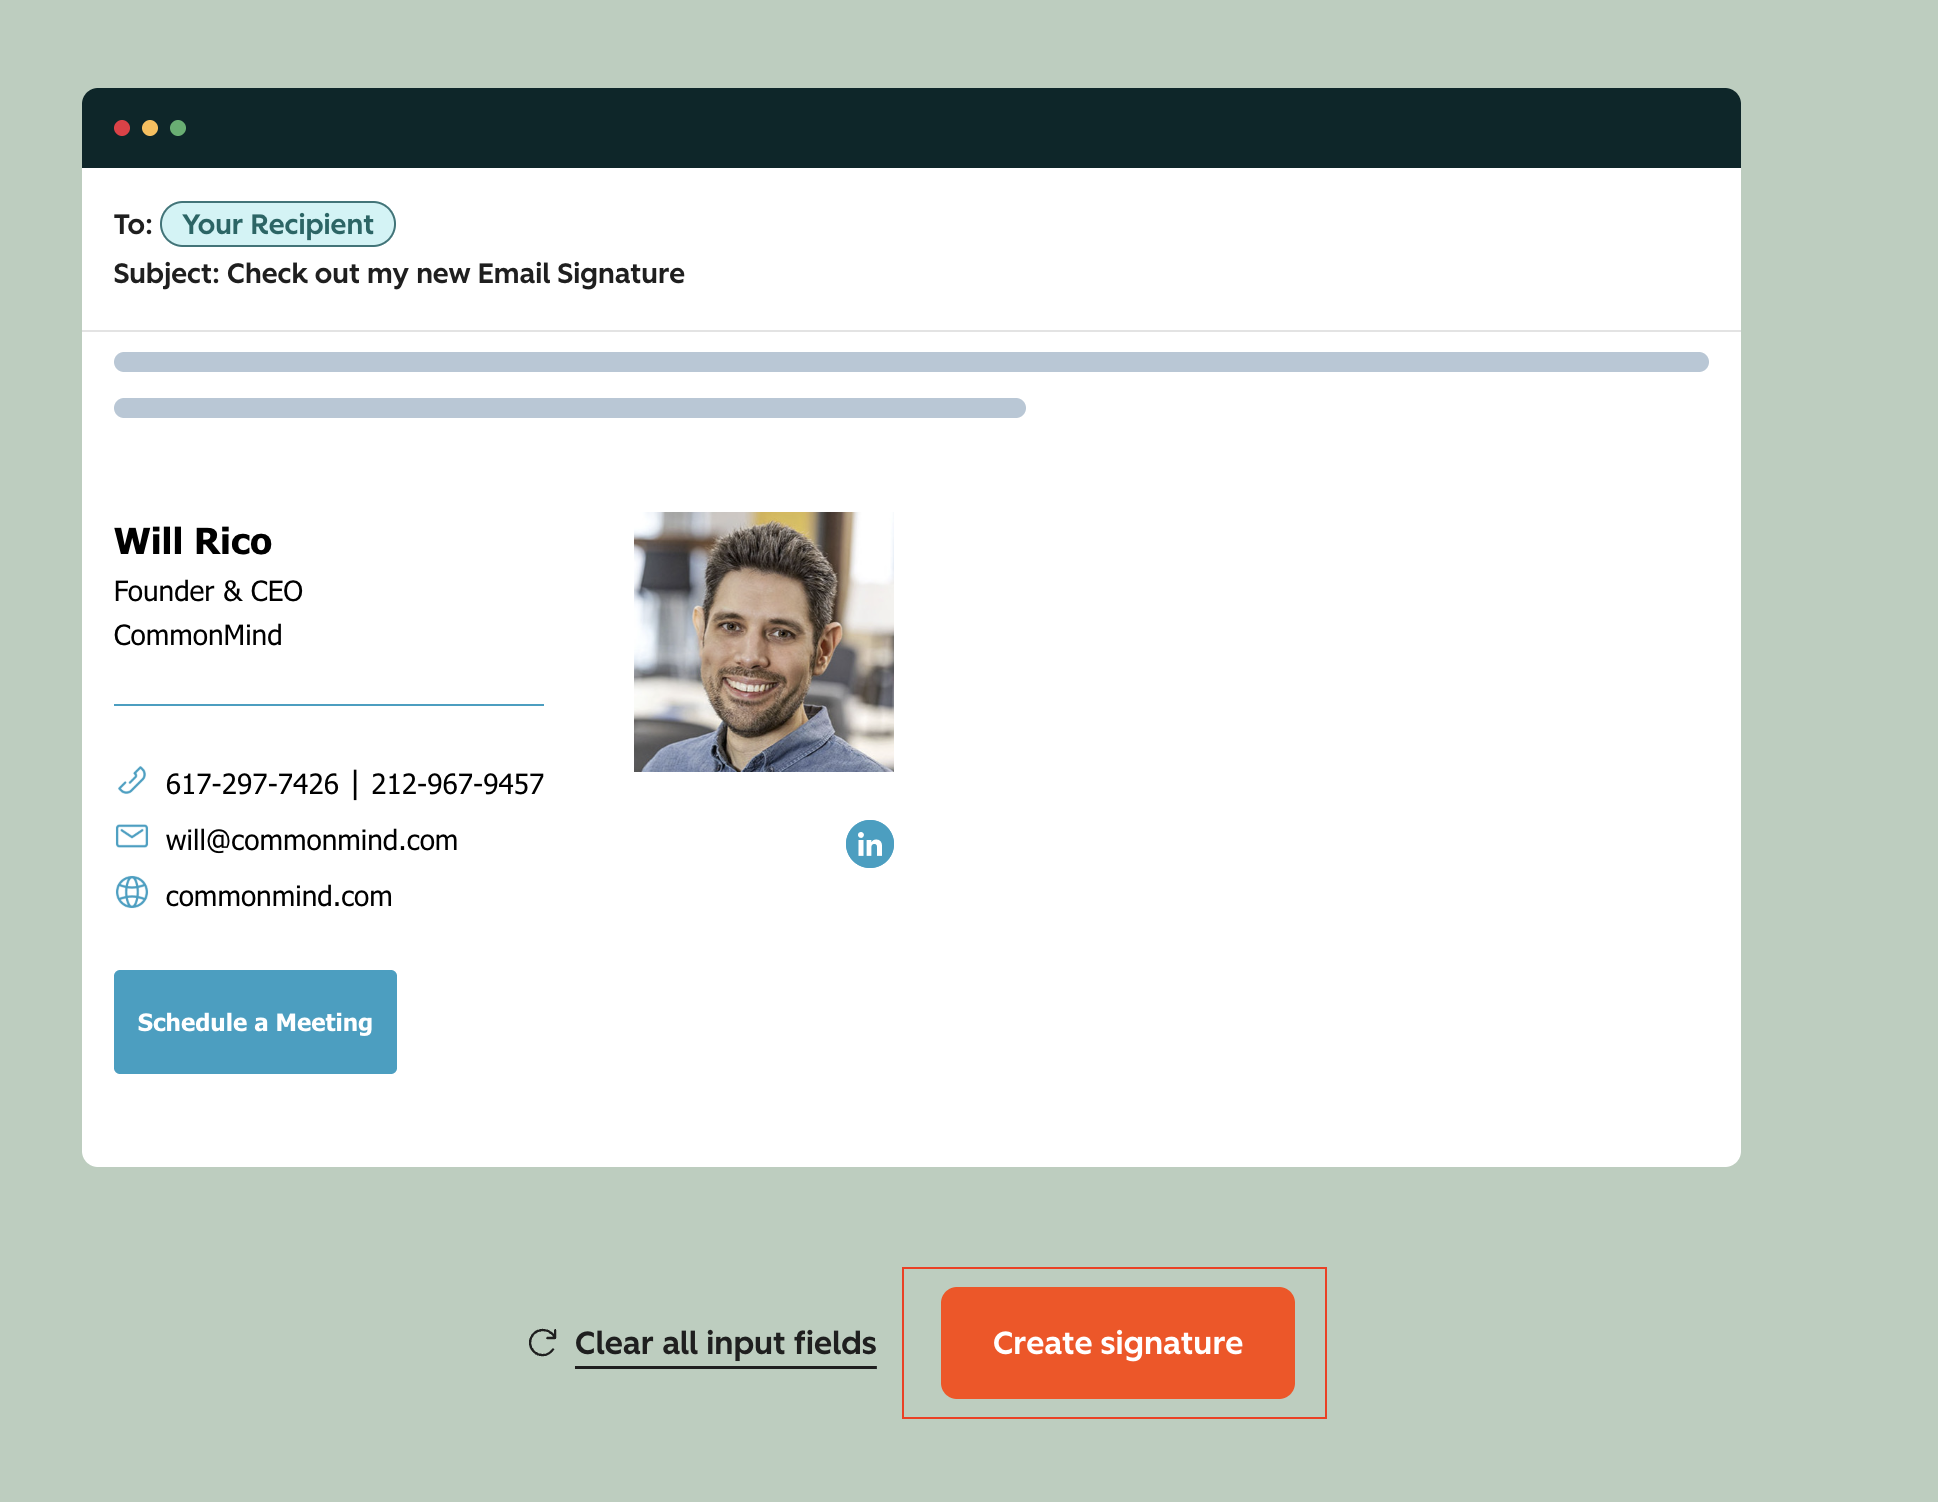
To finish creating your signature, click on "Create Signature" on the right side, below the preview:
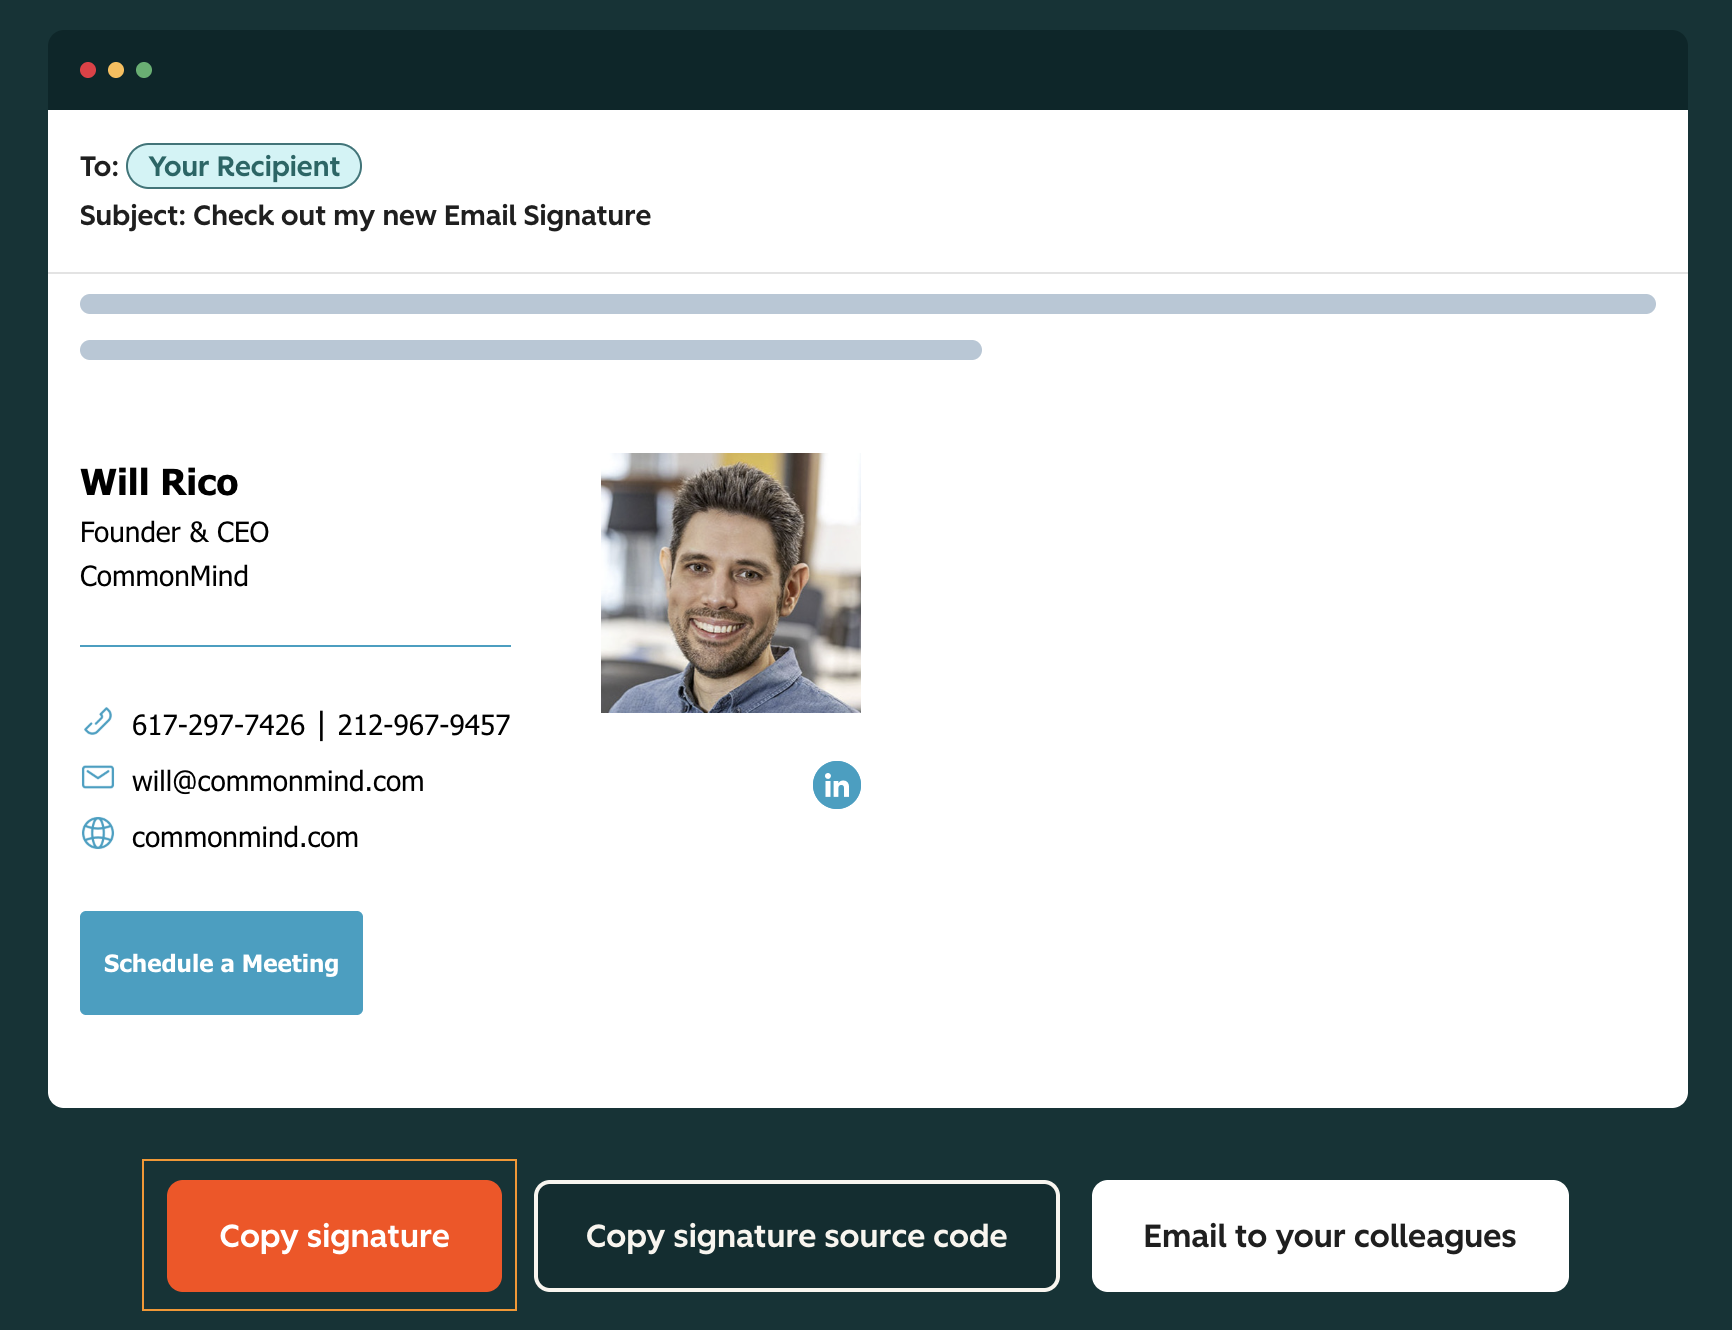
You'll land on this page, click on "Copy Signature":
Now, go to your Gmail, click on the gear icon on the top right corner, then click on "See all settings"

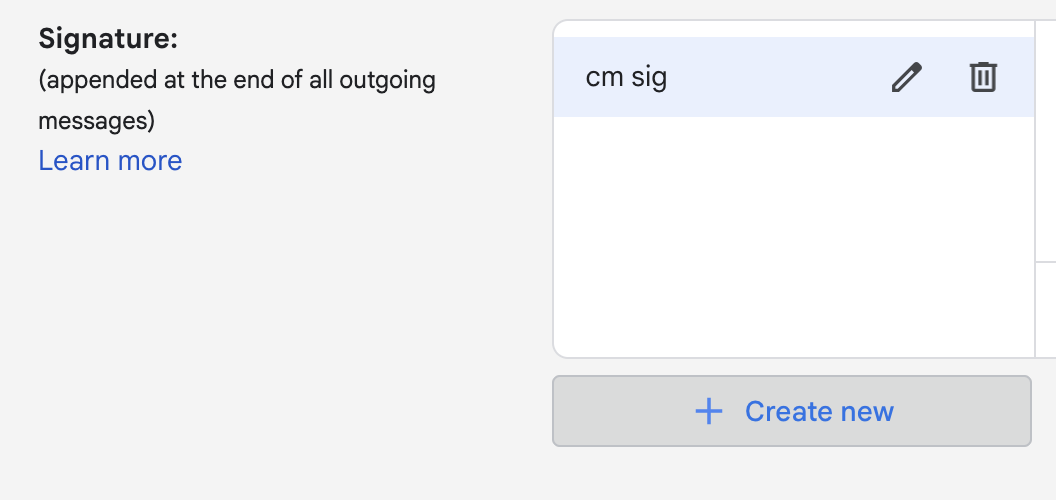
Scroll down until you find the Signature option, then click on "Create new Signature"
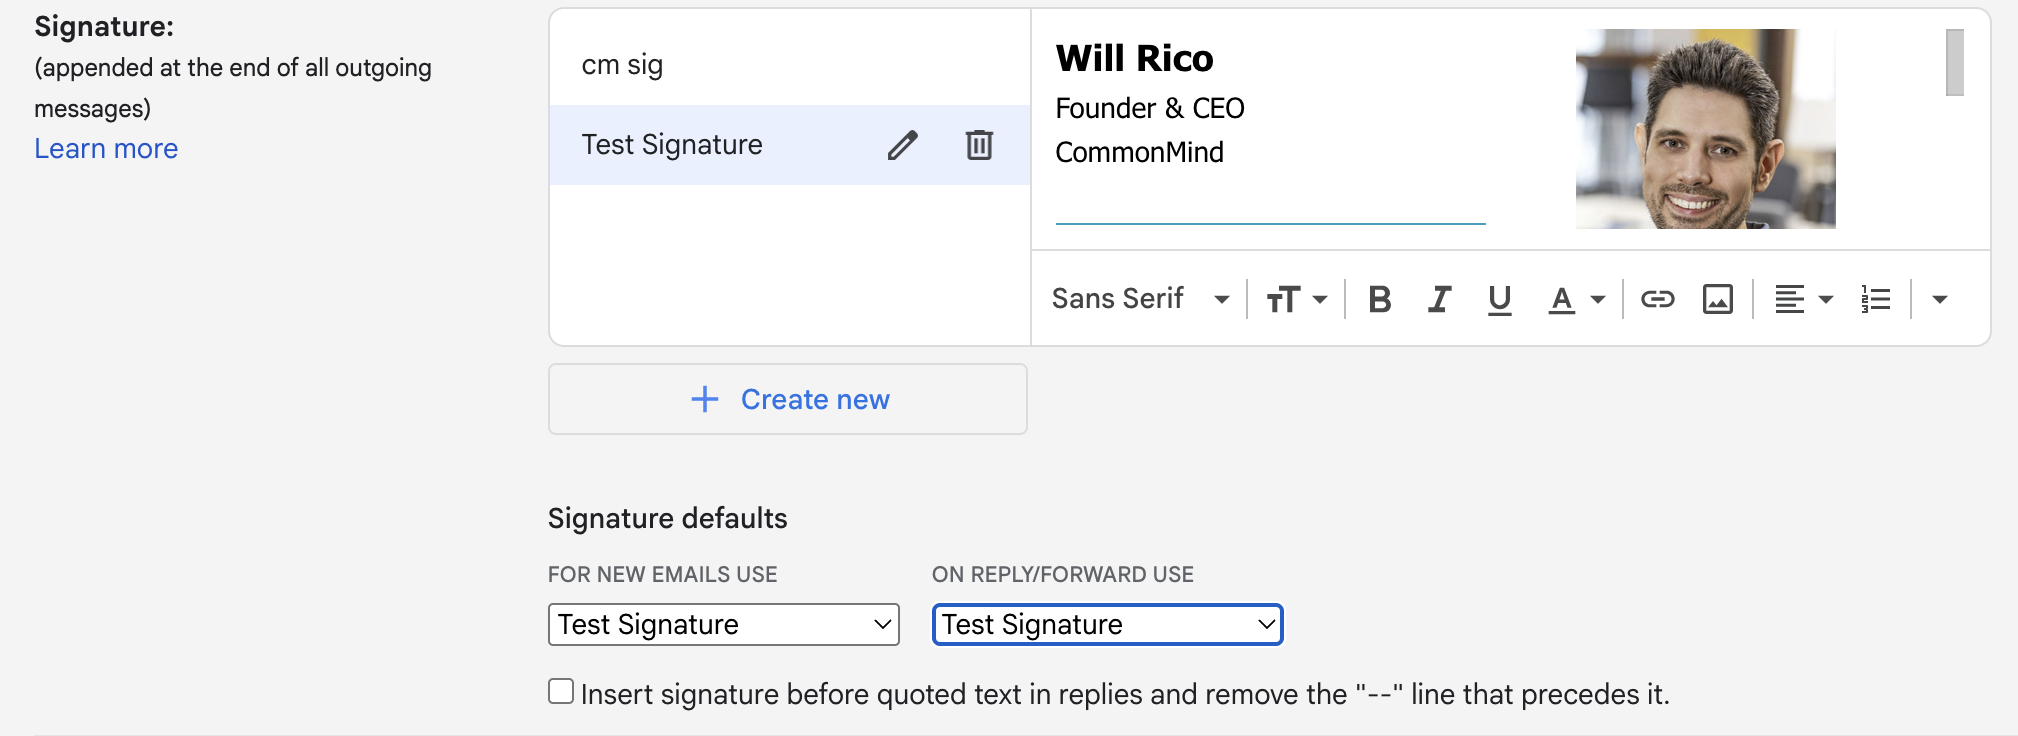
Choose a name for your new signature, click Save, and then paste your new signature into the field in the right, also, don't forget to select your signature on the two checkboxes below, as in the screenshot:
There you go, now you have your custom email signature!